Remix Project
Preview


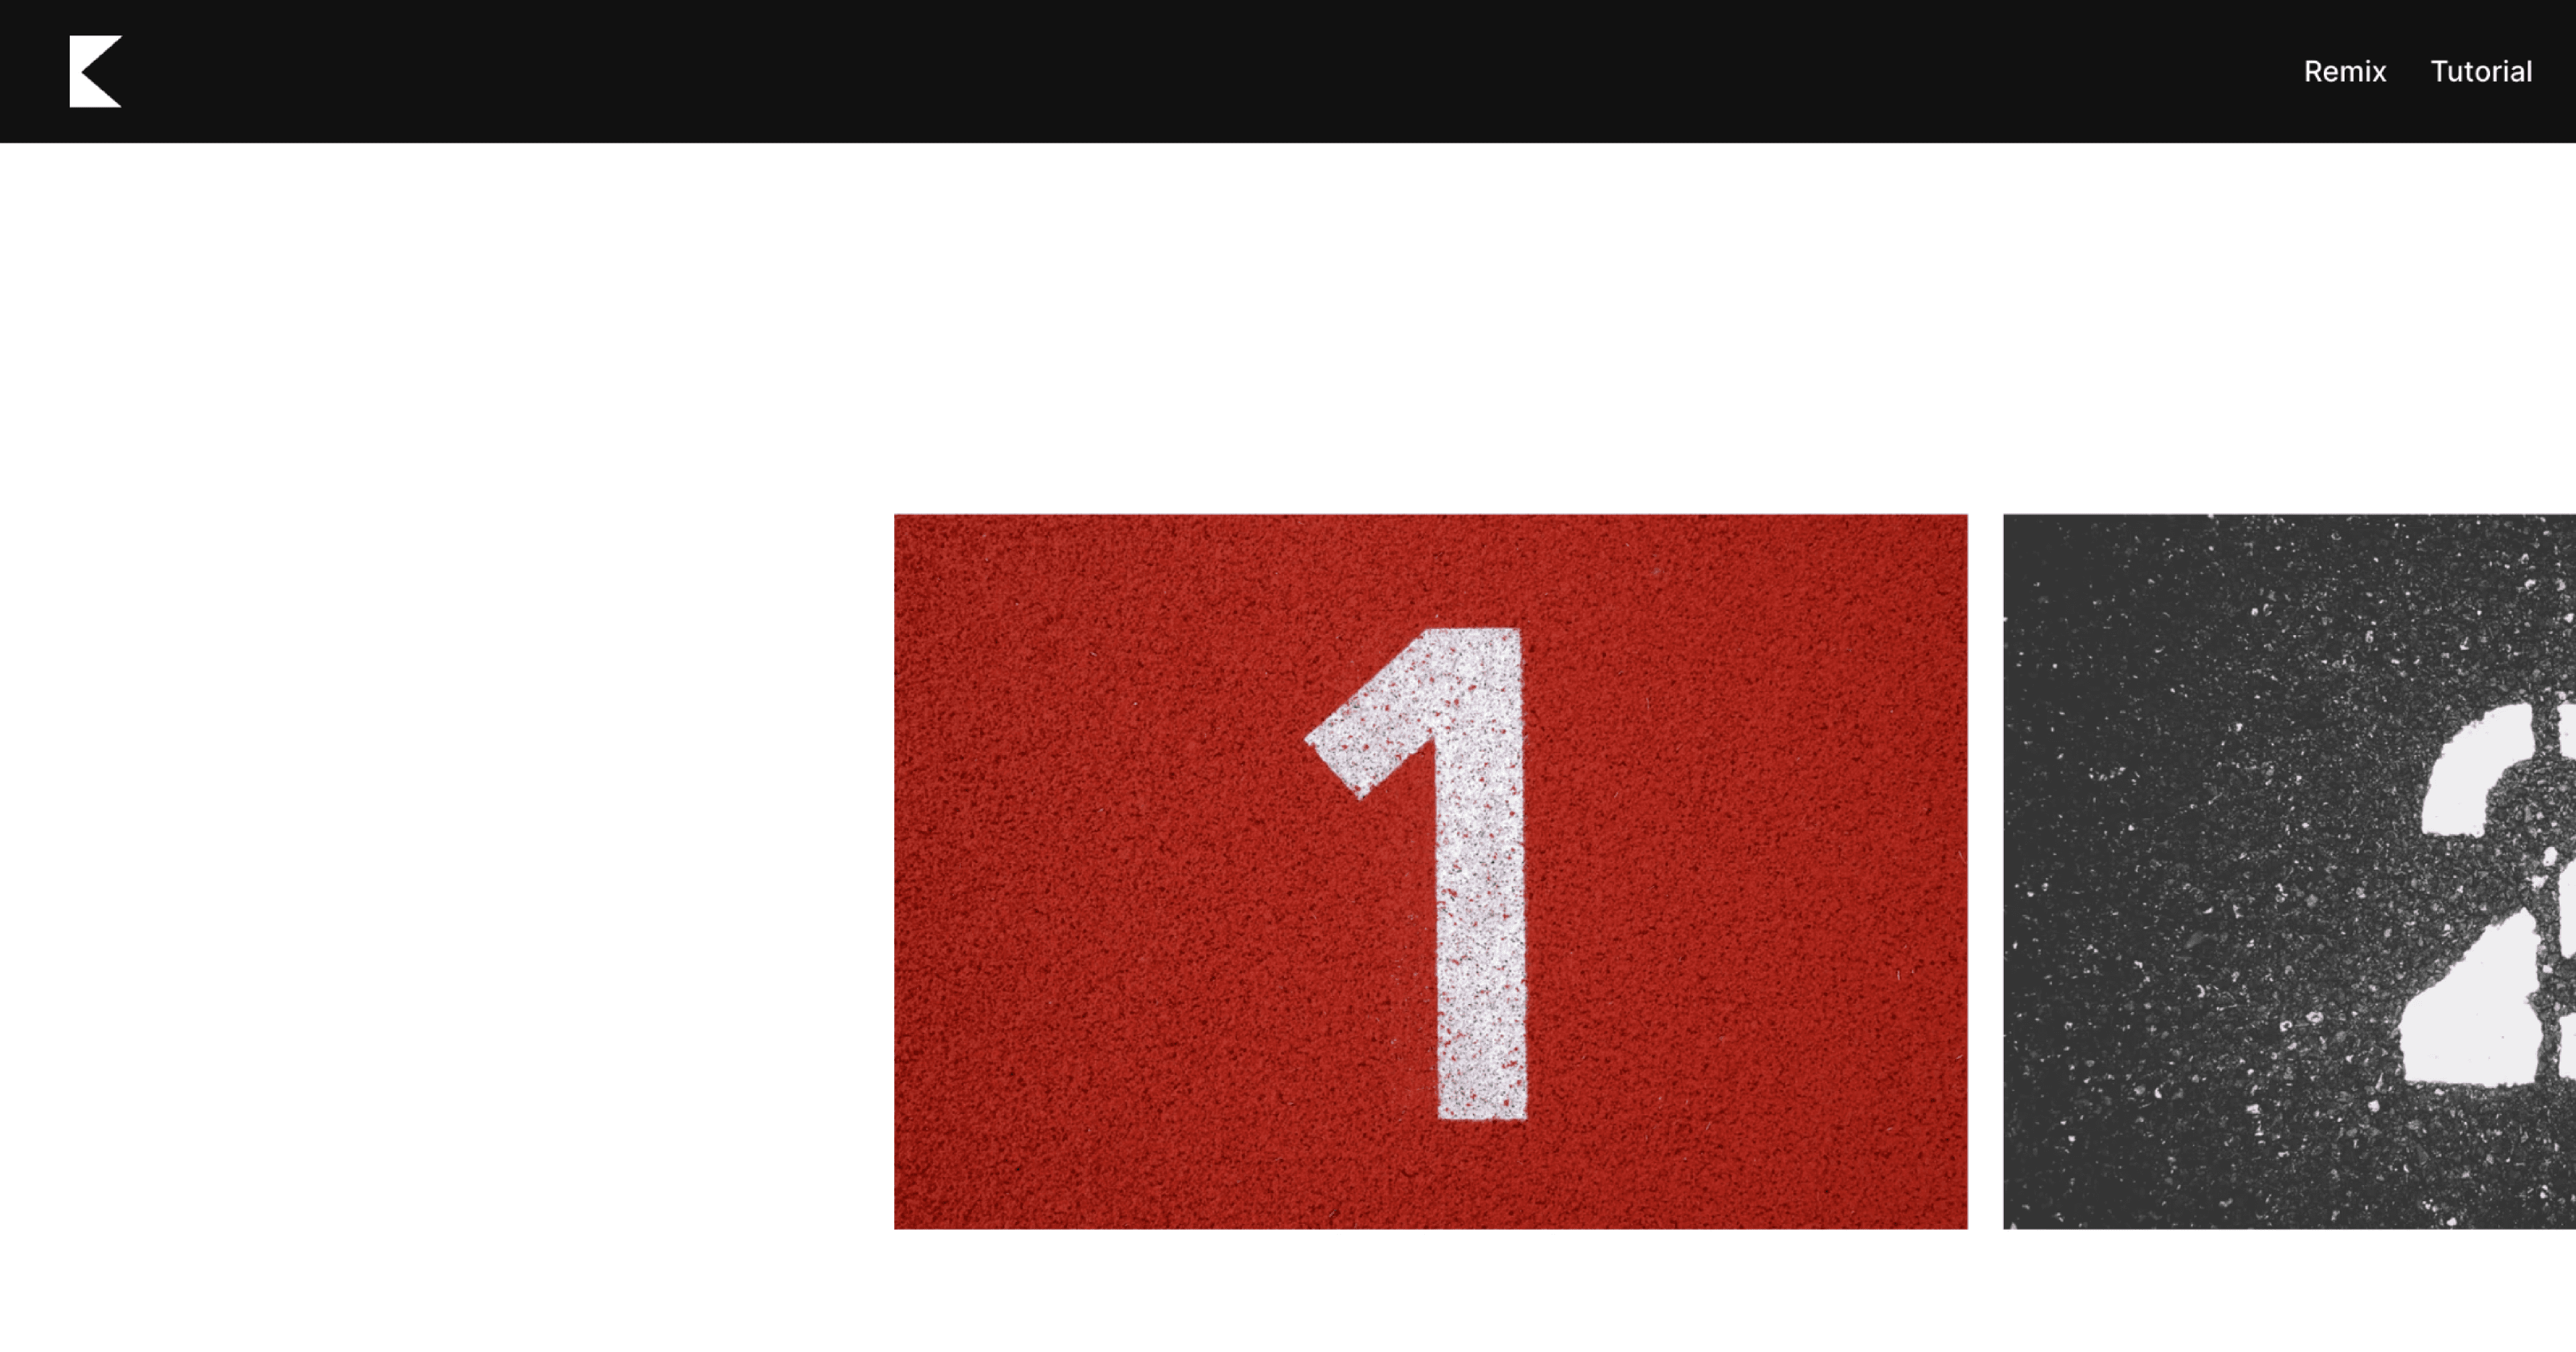
The Before and After Image Slider component in Framer allows you to visually compare two images side by side using an interactive slider. This feature is ideal for showing visual transformations such as photo edits, design changes, or product improvements.
Why Use It
Before and after sliders are a simple but powerful way to demonstrate progress, reveal updates, or compare two different states of an image. Whether you are showcasing a redesign, a product enhancement, or an edited photo, this component helps you tell the story clearly and interactively.
How to Use the Before and After Image Slider
Follow these steps to add and configure the component in your Framer project:
Add the Component
Drag and drop the Before and After Image Slider from the component list onto your canvas.Configure the Properties
Left Image: Upload the image you want to represent the “before” state.
Right Image: Upload the image that represents the “after” state.
Radius: Adjust the border radius of the component to match your design style.
The Result
That’s it! Now the Before and After Image Slider will display your two images side by side. Users can drag the slider handle to reveal or hide parts of each image, providing a smooth and engaging visual comparison.
This component is particularly effective for portfolios, product showcases, case studies, or other before & after images where you want to highlight visual improvements or transitions in a clear and interactive way.
Don't forget to share this post!