Remix Project
Preview


Adding Previous and Next links to your blog or CMS collection makes it easier for visitors to navigate between articles. It keeps readers engaged, improves time on site, and creates a more natural reading flow, especially for blogs, case studies, or documentation pages.
Step 1: Add an ID to Each Article
First, make sure every article in your CMS has a unique ID. For example, you can give Article 1 the ID 1, Article 2 the ID 2, and so on. This will help Framer identify which article comes before or after the current one.
Step 2: Add Collection Items
On your blog page, add two Collection Items. These will be used for your Previous and Next links.
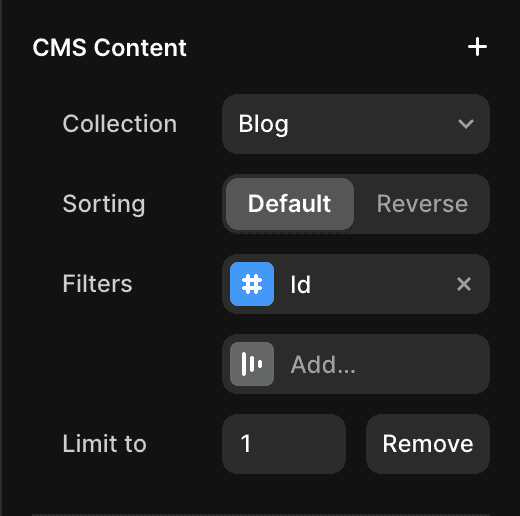
Step 3: Set Up the “Previous” Link

Select the collection item for your Previous link.
Add a filter for the ID field.
Set the condition to Less than the current article’s ID.
Reverse the sort order so it fetches the most recent previous article.
Set a limit of 1 to return only one result.
Step 4: Set Up the “Next” Link
Select the collection item for your Next link.
Add a filter for the ID field.
Set the condition to Greater than the current article’s ID.
Add a limit of 1 to return only one result.
The Result
You now have working Previous and Next navigation links in your Framer CMS blog. Visitors can easily move between articles while staying inside the same page layout.
Don't forget to share this post!


